
Seen from the outside, a paper tube is a simple cylinder. Yet manufacturing one requires several variables to be held together at once, from the angle at which the paper is wound to the cutting tolerance.
This article explains the spiral winding method step by step.
1. Raw material: kraft paper
The raw material for a tube is kraft paper. Thanks to its long cellulose fibres, kraft offers high tensile strength. Grades produced from recycled fibre are also widely used.
The grammage (weight per square metre) and moisture content of the paper are decisive right at the start. Paper with high moisture will not bond properly during winding.
2. Slitting
Kraft paper in reel form is slit into strips of the required width. Strip width affects the winding angle and therefore the strength character of the tube.
3. Adhesive application
Before reaching the mandrel, the strips pass through an adhesive bath. The amount of adhesive is critical:
- Too little and the layers do not fully bond; the tube separates at the cross-section
- Too much and drying takes longer; the tube stays damp and loses dimensional accuracy
4. Spiral winding
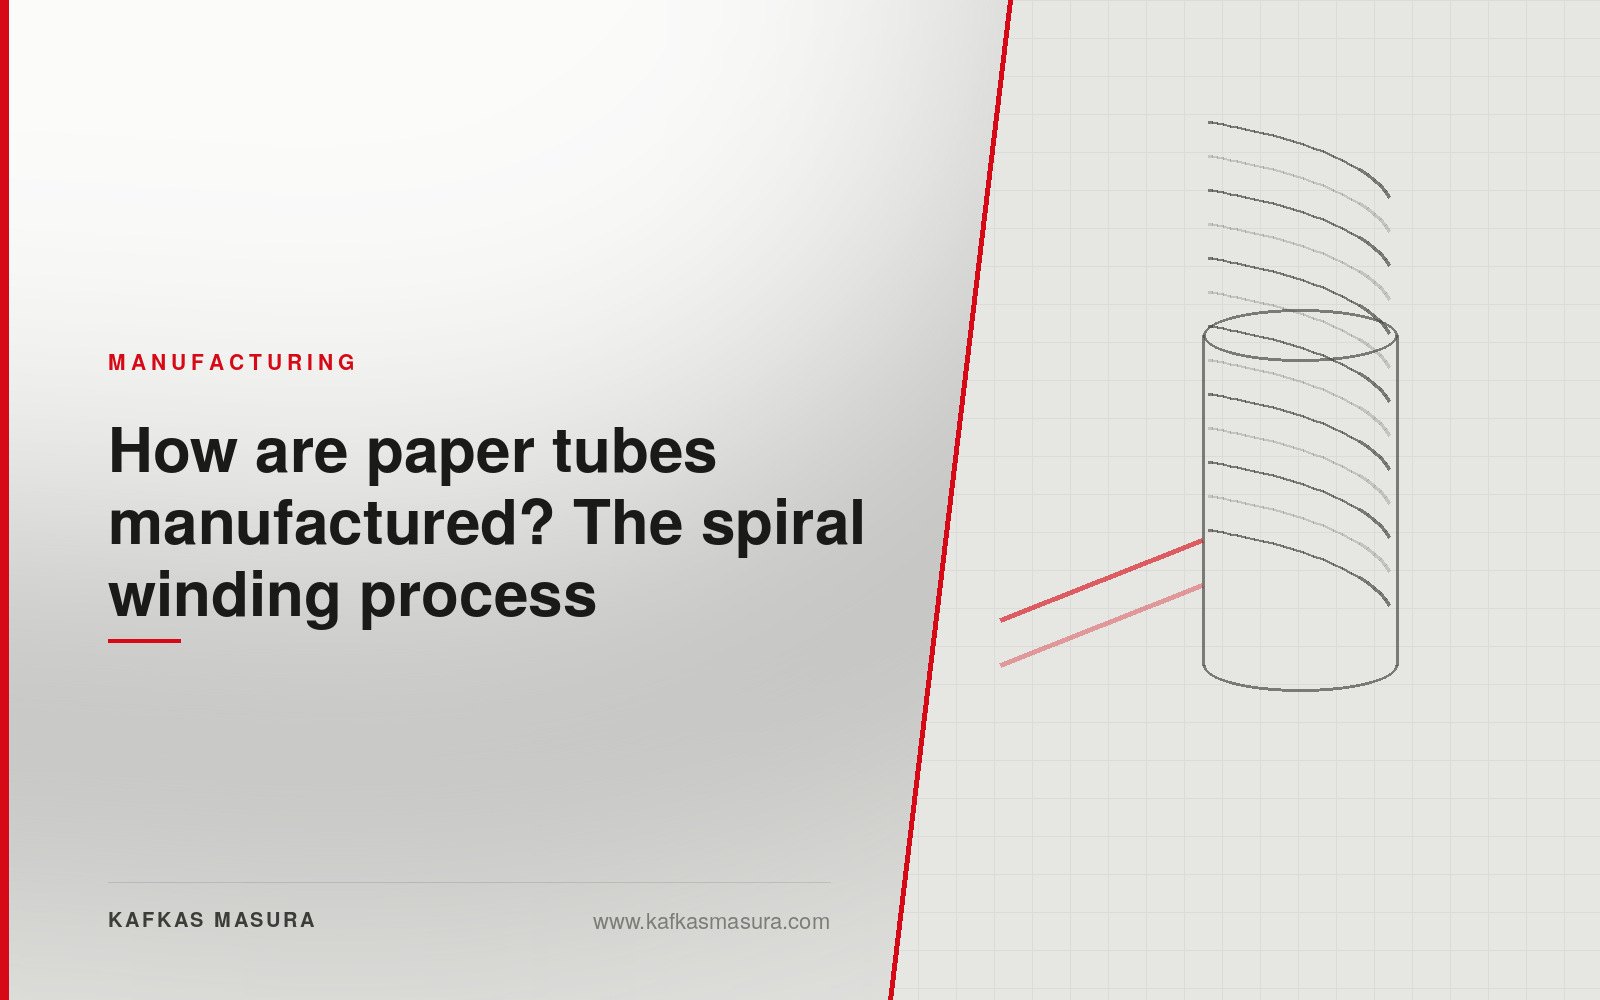
The strips are wound at an angle around a rotating mandrel. Each strip overlaps the previous one to build up layers. The winding angle and number of layers are set according to the required inner diameter and wall thickness.
This is called spiral winding. Viewed in cross-section the winding marks appear as a spiral — the faint diagonal lines on the outer surface of a tube come from this.
The alternative method is convolute (parallel) winding, where the strip is wound parallel to the mandrel. The spiral method is more widespread because it suits continuous production.
5. Drying
A tube leaving the winder is still wet. Drying is needed for the adhesive to cure and for the paper to release excess moisture. If this stage is skipped or cut short, the tube changes shape later.
6. Cutting
The long tube body is cut to the required length. Cutting tolerance matters: a difference in length affects the winding width, and an end that is not cleanly cut disrupts the first winding layers.
If required, an end curling operation is applied at this stage.
7. Surface finishing
Where requested, colour or printing is applied to the outer surface. This layer must be thin and even; a thick or uneven layer can leave marks on fine denier yarns.
8. Quality control
The main points checked at the end of production:
- Inner diameter tolerance — the fit on the spindle depends on it
- Length tolerance
- Wall thickness and weight
- Roundness — any ovality grows during winding
- End integrity — crushed or burred ends are not accepted
- Moisture content
What determines quality?
Every step of production is linked to the next. A batch that starts with damp paper will not deliver the expected strength however good the drying. Equally, flawless winding is of no use if the cutting tolerance is not held.
For this reason, when choosing tubes it is worth looking not at a single measurement but at consistency between batches.
At Kafkas Masura
Our paperboard tube production is in custom sizes, made to order. There are no plastic tubes in our product range.
Simply tell us your requirement; dimensions and strength are determined together with you, according to your operating conditions.